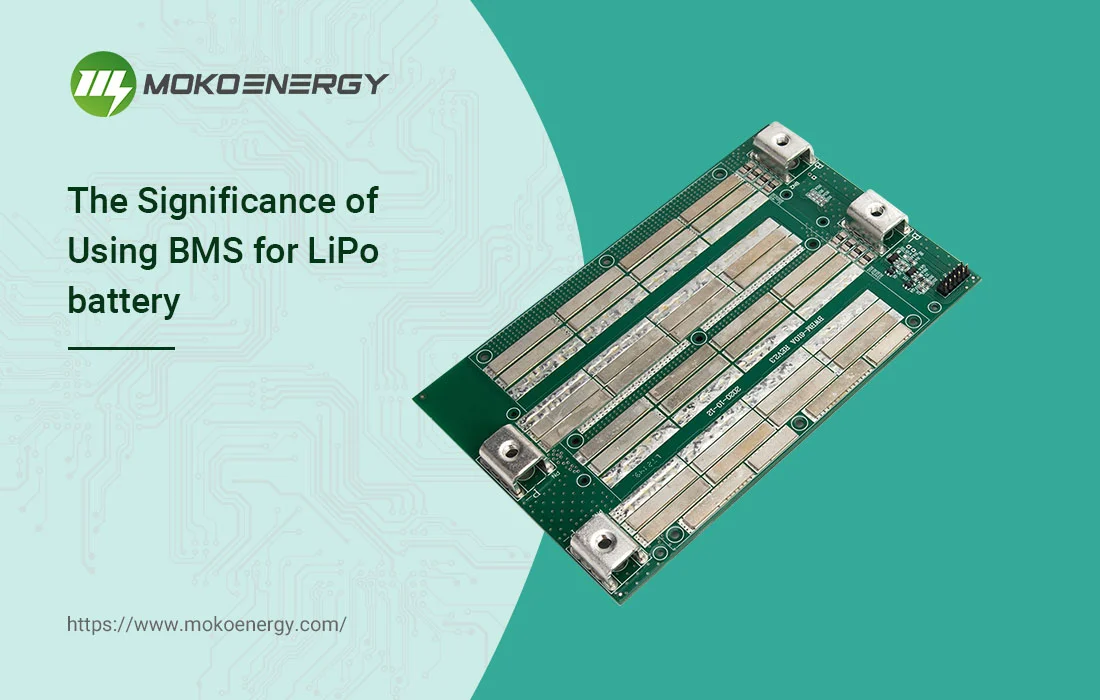
The process of a new e-bike BMS installation can be broken down into three steps:
- First, remove the top connector. The connector may have a different number of pins, either 14, 10, 12, or others. It should serve as a straightforward replacement for the existing BMS without complications.
- Next, use a low-power soldering iron to desolder the bottom three connectors.
- Lastly, employ a soldering iron to link the wires with the fresh BMS.
After completing these steps, you’re ready to power up and test the repaired battery. Hopefully, your charger will activate, and the battery will reach a full charge.
MORE: What are the steps for changing the BMS in an e-bike battery and what factors should you pay attention to during the replacement?


