Battery health is therefore crucial in determining the efficiency and durability of your battery systems used in electric vehicles, renewable energy systems, and portable power tools among others. This health is maintained by battery equalizers, which balance the voltage of each cell. In this detailed tutorial, we will explain in detail how to monitor battery health using battery equalizers and the subsequent steps.
Initial Setup
Choosing the Right Battery Equalizer
Before we start the monitoring process, we need to select the appropriate battery equalizers for your system first. You need to consider the factors before choosing such as:
- Battery Types: Different battery chemistries, such as lead-acid, lithium-ion, or LiFePO4, have different charging characteristics and requirements. Make sure the battery equalizer is compatible with the chemistry of your battery.
- Voltage Range: Battery equalizers are designed to work with specific voltage ranges. Ensure that the equalizer’s voltage range matches the nominal voltage of your battery bank or system.
- Capacity: The capacity of your battery bank will determine the required current rating of the equalizer. An undersized equalizer may not be able to effectively equalize larger battery banks, while an oversized one may be unnecessary and more expensive.
Installation and Configuration
Properly connecting battery equalizers to battery packs is key to effective monitoring in the battery management system. Follow these steps for a smooth setup:
- Read the Manual: Start by thoroughly reading the manufacturer’s manual for specific instructions and understand the specific requirements and recommendations for your particular equalizer model. Carefully studying the manual will help ensure a proper installation and prevent any potential issues or damage.
- Safety First: Wear appropriate protective gear, such as safety glasses and insulated gloves, to minimize the risk of injury. Additionally, ensure that the battery system is completely disconnected from any power sources before beginning the installation process. Prevent any accidental electrical shocks or short circuits.
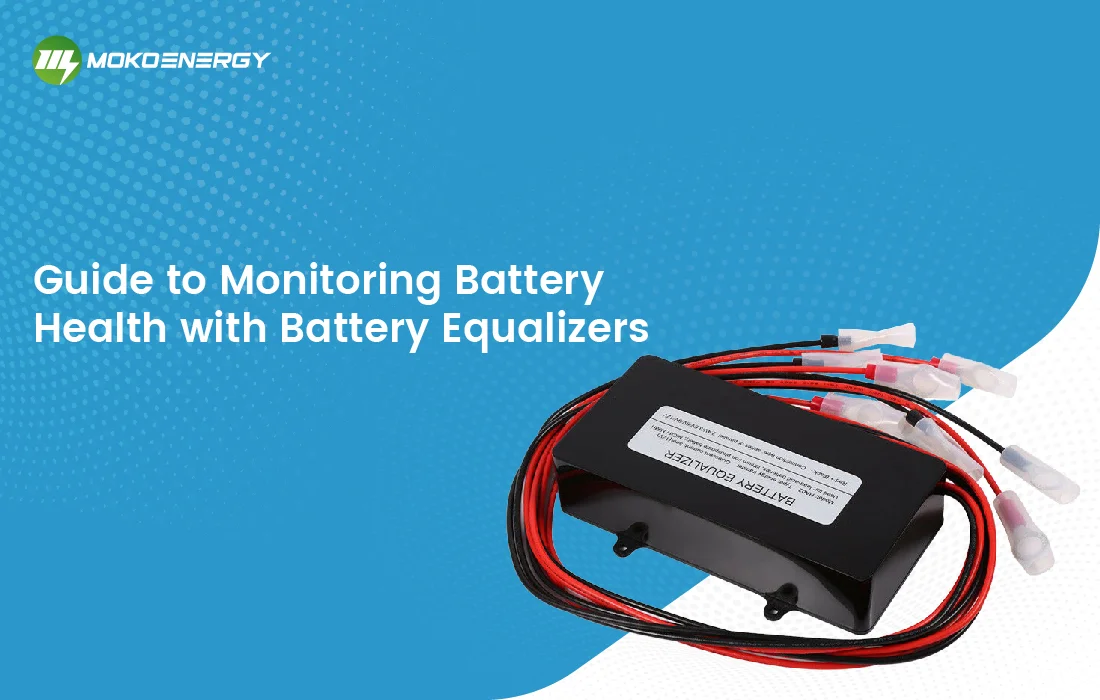
- Connect the Equalizer: Carefully attach the equalizer’s wires to the corresponding battery terminals, ensuring secure and correct polarity connections. Double-check the manual for the correct terminal connections, as reversing the polarity can cause serious damage to the equalizer and the battery system.
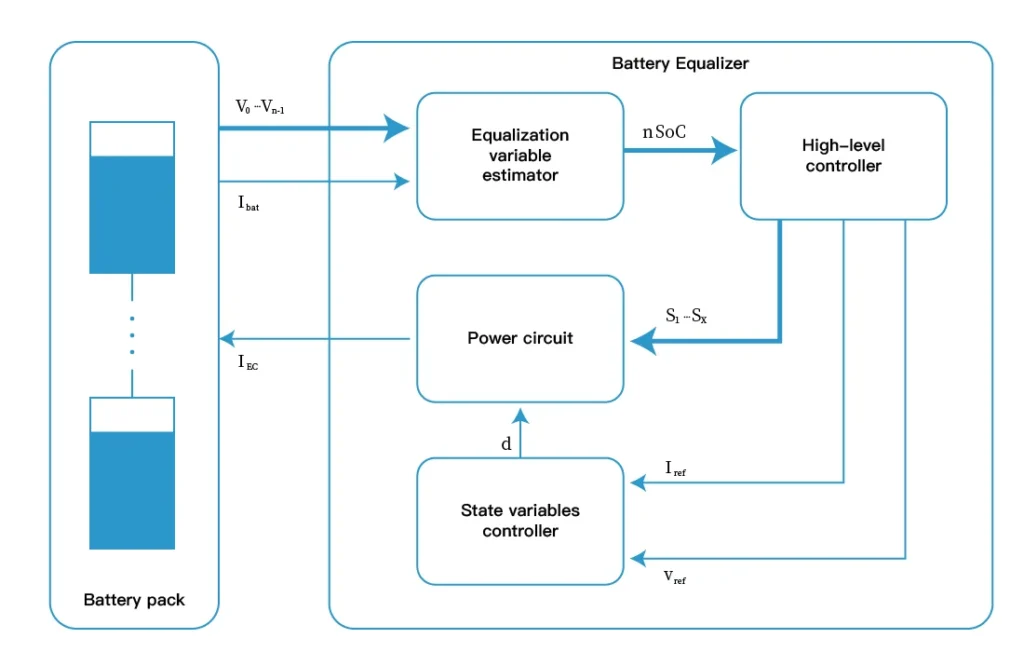
- Secure Mounting: Select a stable and well-ventilated location to mount the equalizer. Proper ventilation can prevent possible overheating. Overtemperature will lead to battery malfunction or even fire hazards. So please follow the manufacturer’s recommendations for mounting positions and clearances around the device.
- Initial Calibration: Many equalizers require an initial calibration process to ensure accurate monitoring and effective equalization. Carefully follow the manual’s instructions for calibrating the device properly.
- Final Checks: Once the installation and calibration are complete, perform a thorough final check. Verify that all connections are tight and secure and that the equalizer is functioning correctly. Review the manufacturer’s maintenance and troubleshooting guidelines in case any issues arise during operation.
Connecting to a Battery Management System
Integrating the Equalizer with Your BMS
An additional layer of safety and efficiency can be delivered through the incorporation of a Battery Management System (BMS) that beefs up your battery setup monitoring and management. Here’s how to integrate your equalizer:
- Identify Communication Protocols: Confirm whether your BMS uses compatible bus communication interfaces such as CAN bus, UART, or any other BUS interface compatible with your equalizer. Several devices may feature dissimilar BMSs that may employ different protocols, and therefore, one needs to consider the compatibility of the two devices.
- Wiring the Connection: Employ the right communication cables to link the equalizer with the BMS. Proprietary wiring and termination methods must be observed and followed closely to ensure that problems do not arise.
- Configuring the BMS: Connect to the BMS settings via the interface, whether it is software or hardware, and assign it to detect and control the equalizer. It can entail defining specific characteristics like the speed at which their transmitting devices or ports operate, the number of bits per data, and the type of parity or checksum used, along with identifying the address of every device.
Setting Up Communication Protocols
Effective communication between the BMS and the equalizer ensures accurate data transfer and monitoring:
1. CAN Bus Protocol:
- Make sure that the termination of the CAN bus network is correct. It is crucial to ensure that transmission signals are terminated appropriately to eliminate incorrect reception indicators.
- It is advisable to give each connected device a unique identity so that there won’t be any identity clash. CAN bus uses selective identifiers within each device to prevent any interference between data signals.
- Check that the CAN bus baud rate and other parameters match between the BMS and the equalizer with the smartphone or tablet.
2. UART Protocol:
- Match the baud rate and data settings (parity, stop bits) between the BMS and equalizer. Mismatched settings can lead to garbled or lost data.
- It has been confirmed that the correct COM port is used for communication. Wiring up a port to the wrong serial port can also hinder end-to-end communication.
- Always ensure that the UART signal levels of the two devices being connected are similar; if they aren’t, use proper signal conditioning such as line drivers or a level shifter.
By doing this, it is possible to connect the BMS for batteries with the equalizer so that you can easily track and manage your battery configuration.
Troubleshooting Common Problems
Identifying Potential Issues
Utilize the monitoring software to gather and analyze battery data:
- Voltage Readings: Monitor individual cell voltages. Significant deviations can indicate imbalances or potential failures.
- Temperature Data: Track the temperature of each cell to prevent overheating and thermal runaway.
- State of Charge (SoC): Assess the overall SoC to manage charging cycles effectively.
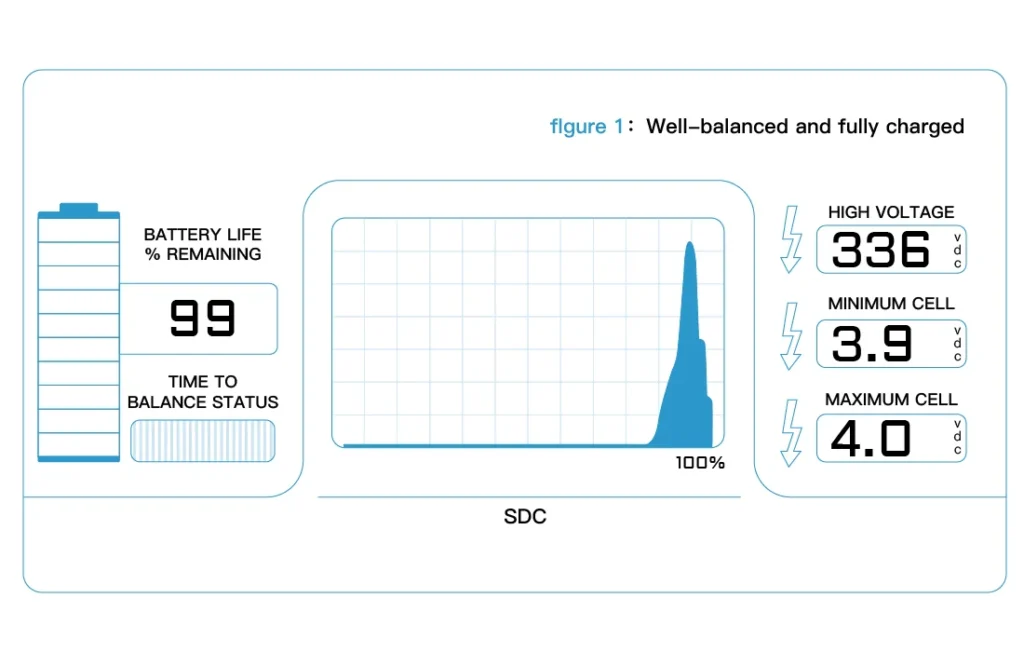
Table 1: Common Battery Parameters to Monitor
| Parameter | Ideal Range | How to Fix |
| Voltage (V) | Varies by battery type | Check for imbalances, recalibrate |
| Temperature (°C) | 20-40°C | Investigate cooling solutions |
| SoC (%) | 20-80% | Avoid deep discharges |
When to Seek Professional Help
Not all issues can be resolved independently. Seek professional assistance if:
- Persistent imbalances occur despite recalibration.
- Communication errors continue even after troubleshooting.
- Physical damage to the battery pack or equalizer is detected.
Conclusion
By doing as this guide instructs, you can guarantee the proper and steady functionality of your battery system. Any damages, problems, or issues should be solved immediately. Also, correct installation must be followed to ensure the efficiency of the battery system. Make use of these practices and appreciate the advantages that come along with a well-managed battery system.
You can add years to the life of your battery systems and improve their effectiveness through learning and precision. Happy monitoring!

