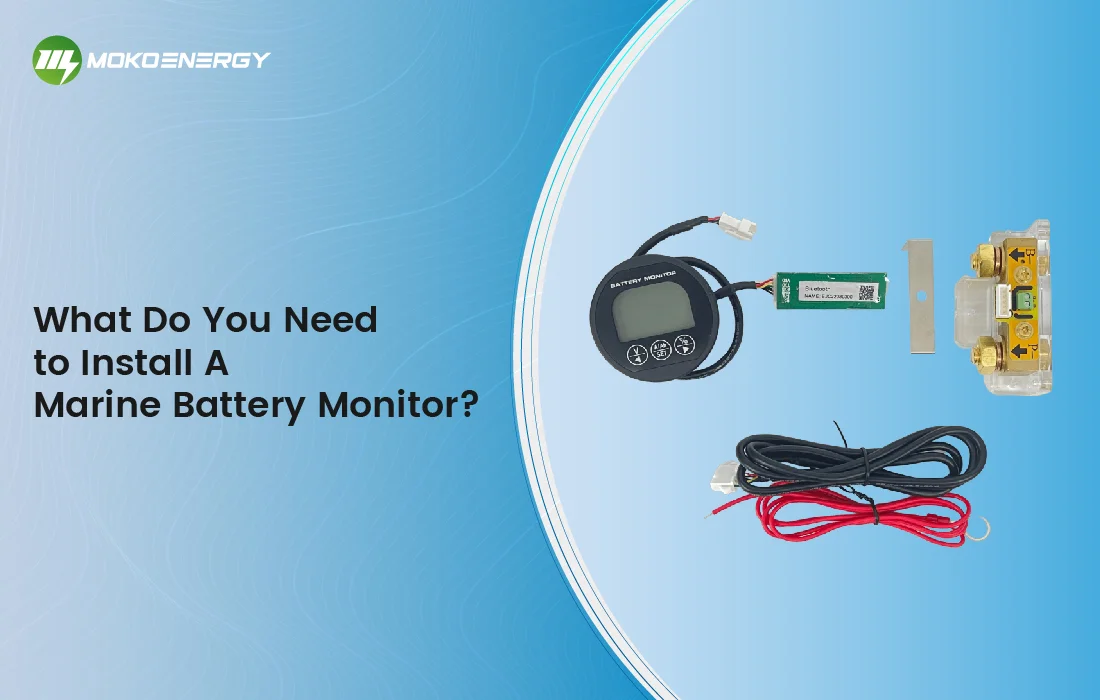
Batteries in the marine boat are one of the essential components of the boat in order to keep everything moving. Right from being used in recharging navigation systems, to powering your lights and engines, it is beneficial to know the health of your battery. That’s why a marine battery monitor system is essential. In this guide, you will learn all the basics about marine battery monitors and learn how to install one.
What is a Marine Battery Monitor?
A marine battery monitor is, therefore, a gadget that allows you to check on the battery system of your boat at any one time. The marine battery monitor on the other hand goes far beyond the simple voltage of a battery and it displays the current draw rate, charge state, and total capacity of the battery. This knowledge is vital for boat owners who would wish to see their batteries functioning correctly in the event of a long trip.
All right, now that we know that this is a component, let us get a better understanding of this component before we proceed to installation. Marine battery monitors are of different types, and every type is unique in its functionality. Here’s a quick rundown:
- Basic Voltage Monitors: Single probe gadgets that indicate battery voltage
- Advanced State-of-Charge Monitors: Include innovatively specific battery data concerning capacity and trading.
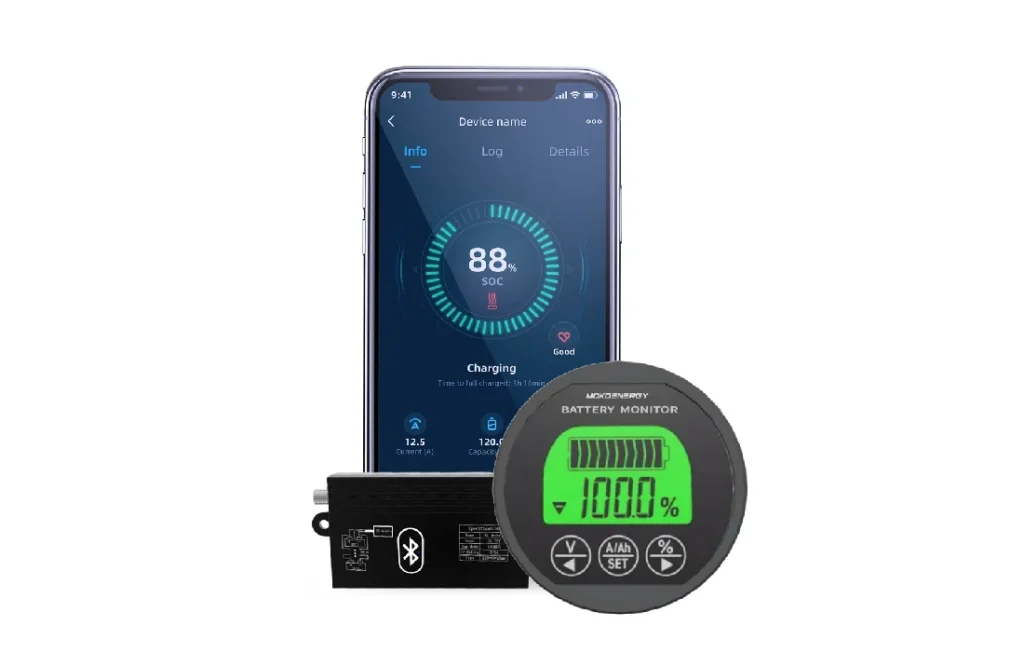
- Smart Bluetooth-Enabled Monitors: Provide telemonitoring through software applications that run on cell phones.
Choosing the Right Marine Battery Monitor
Before selecting the perfect marine battery monitor, consider these factors:
| Factor | Why It Matters |
| Battery Type | Different monitors work best with specific battery types (e.g., lead-acid, AGM, lithium) |
| Number of Batteries | Ensure the monitor can handle your boat’s battery configuration |
| Display Readability | Easy-to-read displays are essential for quick checks |
| Installation Complexity | Some monitors are easier to install than others |
| Budget | Prices range from $50 to $500+ |
Popular brands like Victron, Xantrex, and Mokoenergy Systems offer reliable options across various price points. Remember, investing in a quality monitor can save you money in the long run by extending battery life and preventing costly failures.
Step-by-Step Installation Guide
Now, let’s start the installation. Follow these steps to install your marine battery monitor.
I. Prepare Tools and Materials
- Marine battery monitor kit
- Screwdrivers (Phillips and flathead)
- Wire cutters/strippers
- Crimping tool
- Heat shrink tubing
- Marine-grade wiring (if not included in the kit)
- Terminal connectors
- Multimeter (optional, for testing)
- Heat gun (for heat shrink tubing)
II. Start Installing
1. Read the Manual
Carefully read the instruction manual that comes with your marine battery monitor. This will provide specific details and safety warnings for your model.
2. Choose the Installation Location
Find a suitable location for the display unit where it will be easily visible and accessible. Ensure it is away from direct sunlight and moisture.
3. Disconnect the Battery
For safety, disconnect the negative terminal of the battery before starting the installation.
4. Mount the Display Unit
Use the mounting template (if provided) to mark the holes for the display unit.
Drill holes and secure the display unit in place using the screws provided.
5. Install the Shunt
The shunt is a critical component that measures the current flowing in and out of the battery.
Mount the shunt close to the battery. Ensure it’s in a well-ventilated area.
Connect the negative cable from the battery to one terminal of the shunt.
Connect the load/charger negative cable to the other terminal of the shunt.
6. Wiring the Shunt to the Display Unit
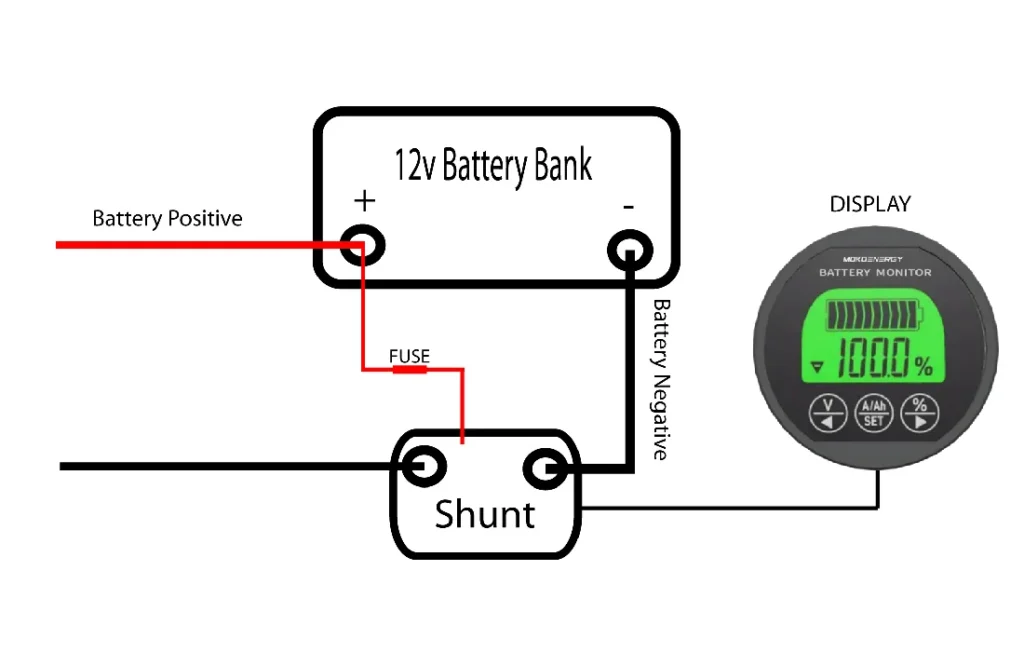
Use the provided cable to connect the shunt to the display unit. This cable typically carries low current signals.
Follow the color coding or labeling in the manual to ensure correct connections.
7. Connect the Positive Supply Wire
Connect the positive supply wire from the battery (usually through a fuse) to the positive terminal on the display unit. This powers the display.
8. Check All Connections
Double-check all connections to ensure they are secure and correctly positioned.
Use heat shrink tubing on all exposed terminals to prevent corrosion and short circuits.
9. Reconnect the Battery
Reconnect the negative terminal of the battery.
10. Initial Setup and Calibration
Turn on the display unit.
Follow the manual instructions to set up the monitor, which may include entering battery capacity, type, and any other specific settings.
Calibrate the monitor as per the instructions, which may involve a full charge and discharge cycle.
11. Test the Installation
Use a multimeter to verify that the shunt and display unit are functioning correctly.
Check that the monitor correctly displays voltage, current, and other parameters.
Tips of Installation
- Always use marine-grade components to withstand the harsh marine environment.
- Make sure to use proper cable sizes to handle the current load and minimize voltage drops.
- Regularly check the connections for signs of wear, corrosion, or looseness.
By following these steps, you should be able to install a marine battery monitor successfully and ensure it provides accurate monitoring of your battery’s status. So, are you ready to take control of your boat’s power? Install a marine battery monitor today and sail into a future of smarter, more efficient boating!